how-to

Red Velvet Cheesecake Truffles

In our family red velvet cake is traditionally reserved for Christmas dinner (and also my Birthday cake). But when I stumbled across this Red Velvet Cheescake Truffle recipe while looking for Valentine’s tablescape ideas, I thought, “Yes!” I need a little more red velvet in my life….or at least more than once a year! And, anyway, isn’t it the most perfect Valentine hue?

fullsizeoutput_57a9.jpeg

Ingredients:

-1 box red velvet cake mix, plus ingredients needed for mix

-2 8oz. blocks of cream cheese, softened

-1/2 cup powdered sugar

-2 Tbsp. heavy cream

-1 tsp. pure vanilla extract

Preheat oven to 350 degrees and line a muffin tin with cupcake liners. Prepare red velvet cake mix according to package directions. Divide batter among liners, and bake until an inserted toothpick comes out clean. 18-20 minutes. Let cool completely then break 4 cupcakes into small crumbs. Save the other cupcakes to eat at midnight. Just kidding! But really the extra cupcakes aren’t needed for the rest of the recipe so you really can eat them at midnight. Or right away. No judgment here.

In a large bowl, using a hand mixer, beat cream cheese and powdered sugar until light and fluffy. Add heavy cream and vanilla and beat until stiff peaks form.

Line a large baking sheet with parchment paper. Using a small cookie scoop, scoop cream cheese mixture into balls and place on prepared baking sheet. Transfer to the freezer to chill, 1 hour.

Roll the balls in red velvet crumbs until fully coated, then return to prepare baking sheet. Refrigerate until ready to serve.

Original Recipe from Delish.com**

Red Velvet Cheesecake Truffles.jpg

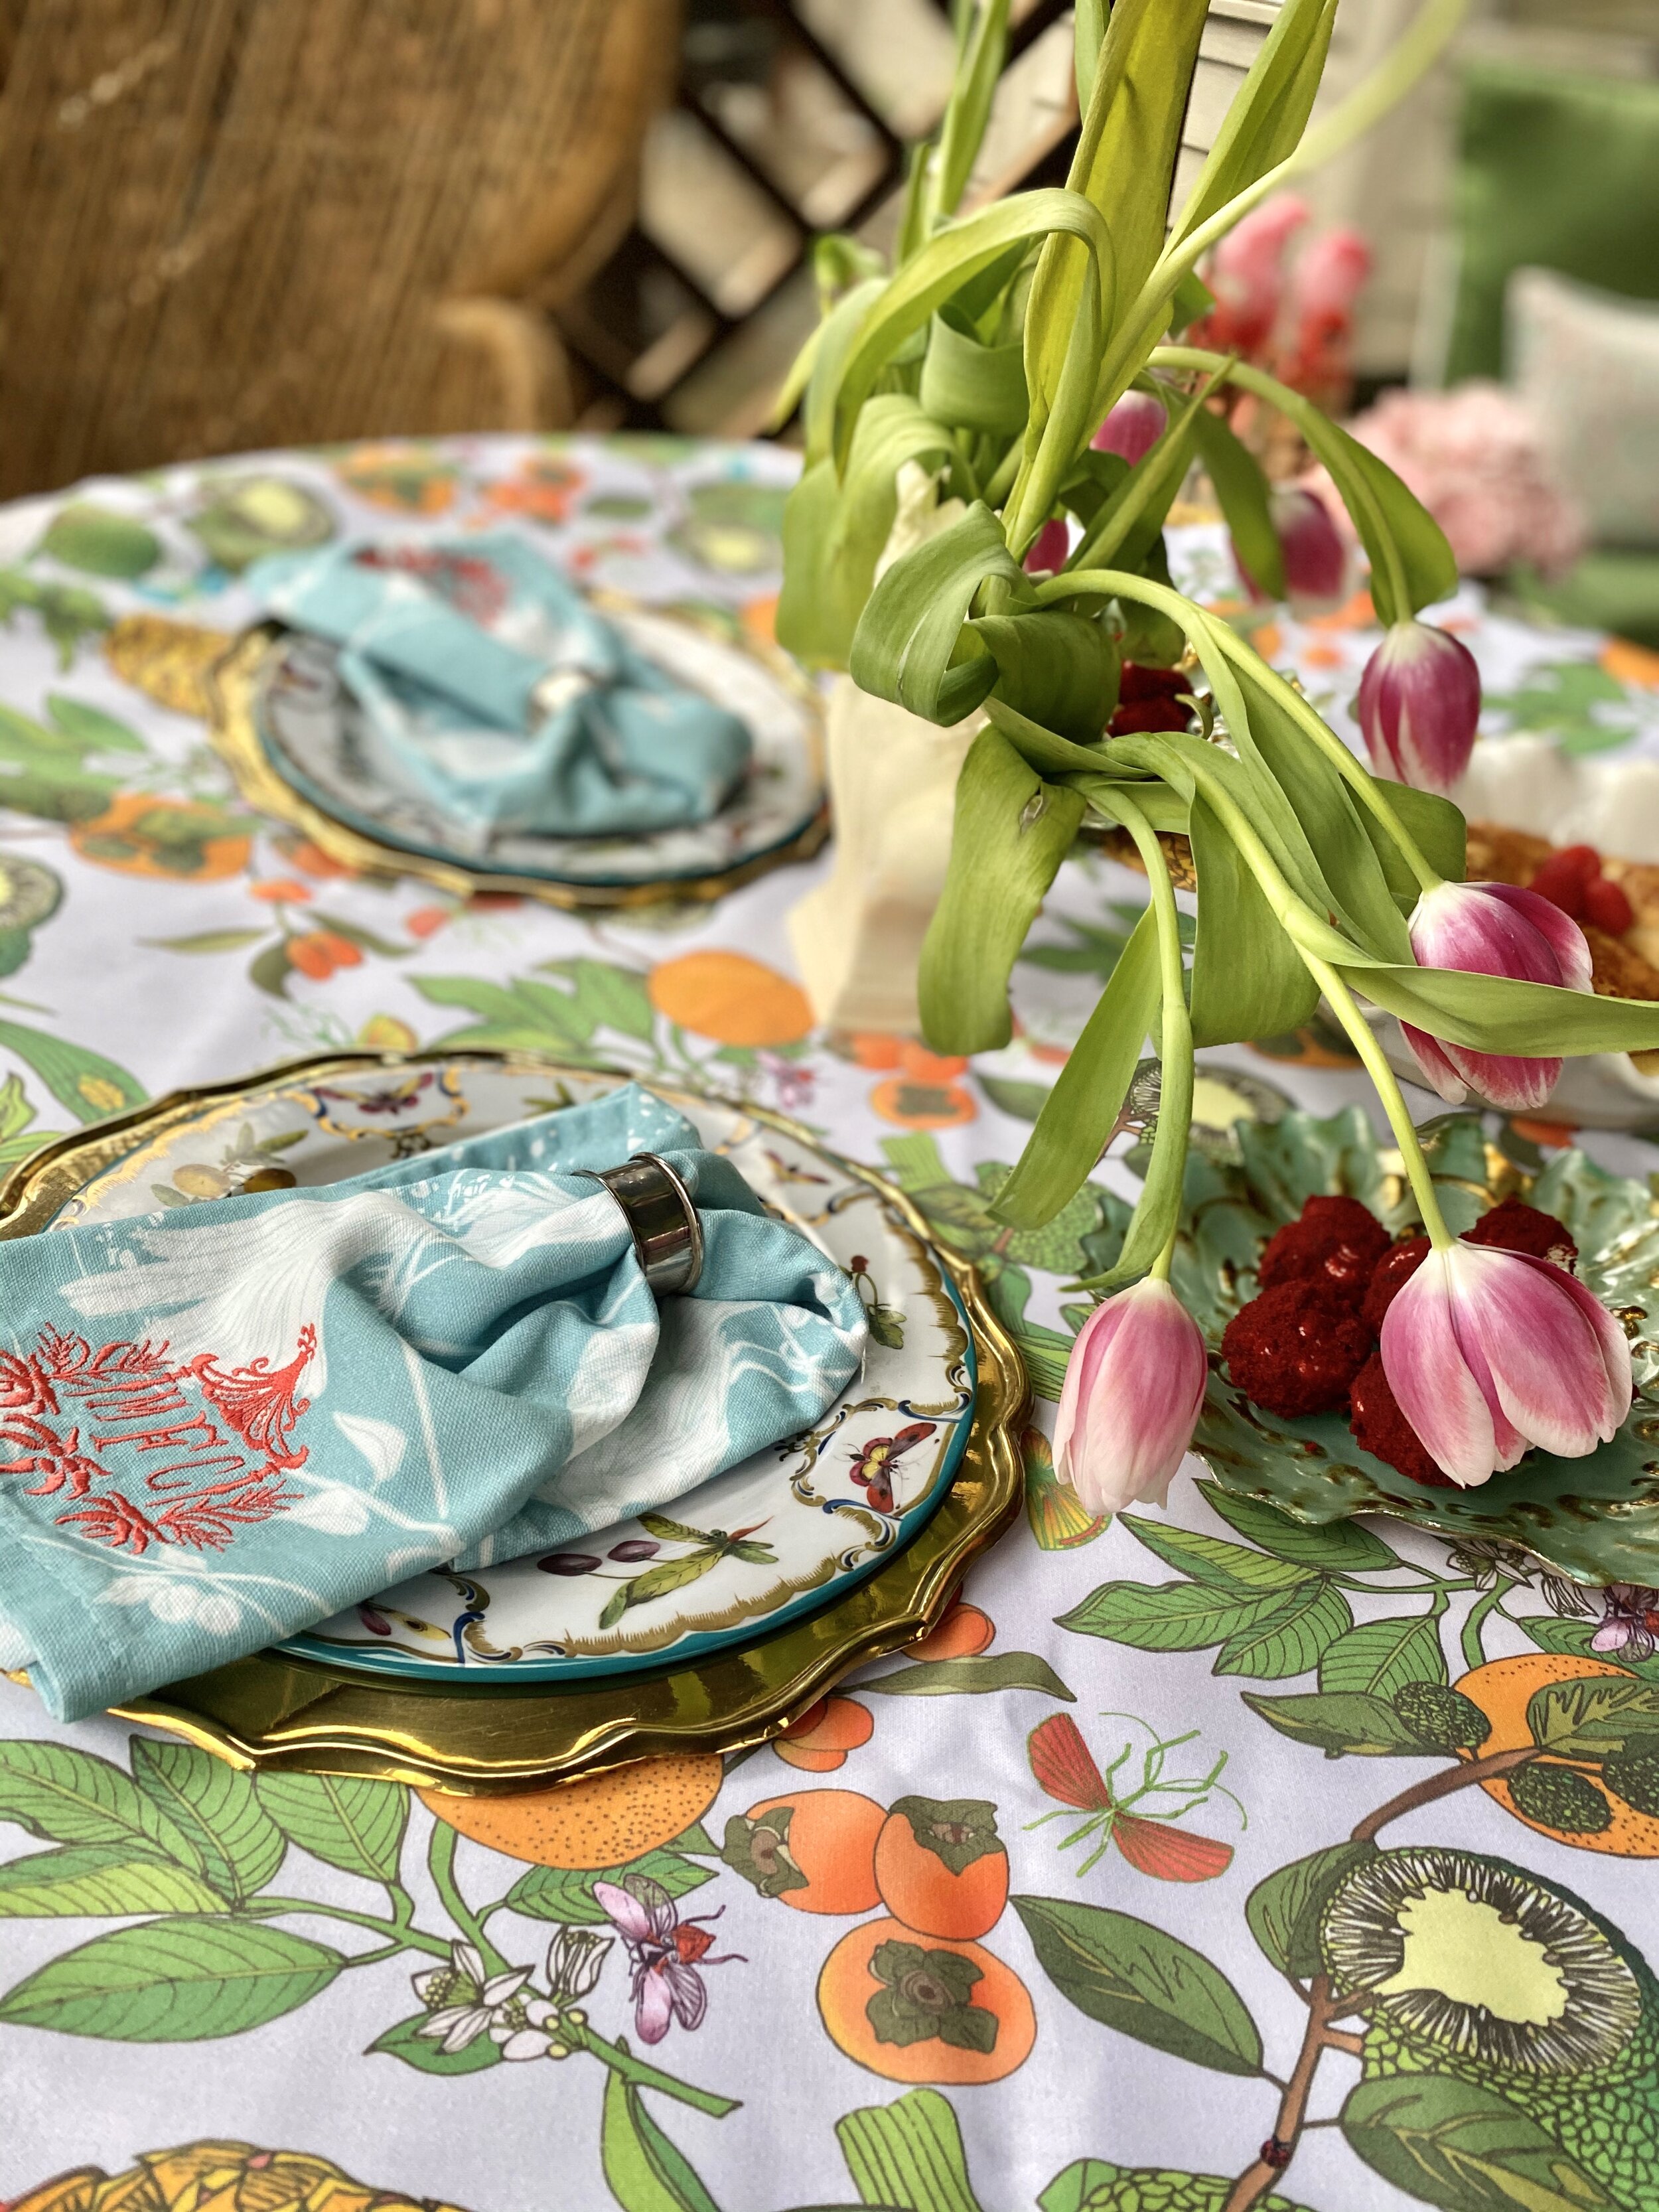
Not only are they scrumptious but serve them on a pretty dish and they make any tablescape pop! They are the perfect little bite for any party or shower, and I personally will no longer be waiting till Christmas to get my once a year red velvet fix. These will be on the “sweets” rotation from here on! Happy Valentine’s Day, friends!

Check out the quick video tutorial below!

The Most DIVINE Raspberry Brie

Don’t you just love Brie? So easy and quick, yet looks and tastes like you spent hours! And this recipe might be one of my favorites.

fullsizeoutput_57aa.jpeg

I changed the recipe a bit from the original but the ingredients are listed below with my little tweaks beside them….

Ingredients:

-1 large sheet of puff pastry dough or 1 tube of refrigerated crescent dinner rolls (I used two puff pastry sheets in order to make the cut out hearts on top but you could probably get away with just one)

-1 round or wedge of Brie cheese (do not remove rind)

-2 tablespoons raspberry jam or other sweet jam ( I may have used a little more)

-1 tablespoon brown sugar (I used Swerve brown)

-1/4 cup of maple syrup (I didnt use the entire 1/4 cup, just a heavy drizzle)

-small heart-shaped cookie cutter

-fresh raspberries for garnish

-a pretty dish to serve it in! (Make sure it’s oven safe)

Preheat oven to 350 degrees.

Slice the top off the Brie. I started with chilled Brie and sliced a very thin piece off of the top. This may help the crust stay with the cheese when served. The rind is edible so you can skip this step if you want to.

Grab a pretty serving dish (make sure it’s oven safe!) and evenly lay your puff pastry sheet in the bottom. Place the Brie on top of the pastry.

Spread jam on the top of the Brie and then fold dough over the top. Cut off any excess dough. This is where you could probably get away with using just one sheet of pastry dough if you rolled out the excess to cut your hearts.

Roll out your excess dough or grab your 2nd puff pastry roll and lay out flat to cut hearts. Make sure the dough you are using has come straight from the fridge….it will be so much easier to cut! Using your heart-shapes cookie cutter, cut out as many hearts as you want to top your Brie with. Lay the hearts on top of the Brie in any fashion you’d like.

Sprinkle with brown sugar and drizzle with the maple syrup.

Bake at 350 degrees for 30 minutes. Pastry should be golden brown. Let cool 10 minutes and top with fresh raspberries before serving.

fullsizeoutput_57ac.jpeg
fullsizeoutput_57ae.jpeg
fullsizeoutput_57af.jpeg

Ya’ll, this dish was amazing. You could serve with crackers or apple slices if you’d like but honestly it was so darn good by itself! Bubbling melted cheese and raspberry jam….oh my! In fact, I gotta go….I have some leftovers in the fridge and they are calling my name!

See the quick video tutorial below! Happy Valentine’s!!!

Mums the Word....

I think carnations are often overlooked in the world of decorating. They are inexpensive and easy to find which I’m afraid has been their crux. But really they are a beautiful flower and so elegant when arranged tightly together. So grab a handeful at your nearest Publix (or Walmart) and lets start arranging!

fullsizeoutput_57a7.jpeg
B3889A04-8C54-4E4B-AC1D-CFEFC11DCF16.jpg

Supplies Needed:

-one or two bunches of carnations

-a vase/vessel for your flowers

-floral frog

-water!

For this flower arrangement, I simply chose a candy dish from my house and added the floral frog to the bottom. If you don’t have a floral frog, I highly suggest getting one. They make arranging SO much easier! Add water to the bottom of your vessel and start arranging. Easy-Peasy! Check out my quick tutorial below.

Brass Polishing Tutorial

I love a good brass anything! So when I saw these brass chargers at a local antique store, I snagged them! They were in great shape but tarnished. A little bit of tarnish usually doesn’t bother me but I knew I wanted to use them in my Valentine’s tablescape and needed a more polished look.

Materials Needed:

-Brasso Metal Polish

-clean, dry cloth for polishing

-clean, dry cloth for buffing

-elbow grease!

Check out my quick tutorial to see how it’s done!

fullsizeoutput_57a6.jpeg